Sunday, March 2, 2014

How I Upped My Makeup Game

There are few things I think I need to say first and foremost. I have learned everything I know by trial and error. I am not a professional. Secondly, I feel that makeup should be fun and if it works for you- ROCK IT! We are too hard on each other. What may look like crap to me actually makes that girl feel like a beautiful princess! Lastly, there are higher end products than what I have that probably do a better job. However, I am all about beauty on a budget. I get most of my stuff at Target or at the drugstore.

That before? That's not an uncommon makeup look I used to rock. I really tried not to overdo how I previously did my makeup. That is really how I wore it.

Quick and dirty on what have I changed and what have I learned

  • Skincare, skincare, skincare
  • Primer sets the stage whether for foundation or eyeshadow
  • Eyebrows- Framing for your eyes, learn to do them! 
  • Eyeliner- Now it is always under my lash line on my lower lashes
  • Bronzer- Not just something you put your blush on top of
  • Pink frosty lips do not equal nude lips (I used to think only a light lipstick if you have smokey eyes)
  • Smokey eyes can be done in a variety of colors but black and silver are harsh
  • Eyeshadow primer can make a difference for even the cheapest of shadows
  • Tools matter- maybe even more than the makeup
  • The angle at which I curl my eyelashes matters
Now to get a little more in depth: 

Step 1: Skin. For me that generally includes serum, daytime eye moisturizer, face moisturizer and primer. 

Primer makes a big different in my makeup. I have two different types depending on the look. The pixi primer is more of a luminescent dewy look, and the face perfector is a more of a matte look. (Unfortunately they no longer make that pixi primer. Sad day! I'll be on the lookout for a different option) 

Step 2: Foundation: Since I followed my skin routine including primer I will use regular foundation instead of a BB cream (I use that when I want to combine some steps). Today happens to be Colorstay Foundation by Revlon in 200 (nude). Sometimes I use a makeup sponge, today I used my fingers. 


Step 3: Highlight and Contour (HAC). My highlight and contour leaves a lot of room for improvement. It is a new step for me. (Please don't cringe, its a work in progress!) Lets just called it a modified HAC. I'm not sure I love the super dark with super light HAC routines I've seen. I use a concealer in the lightest shade (usually an ivory) and draw a line up the center of my nose and then fan out onto my forehead, an inverted triangle under my eyes, and a bit on my chin. The inverted triangle under my eyes does a a wonder for my dark circles and for the rosacea redness of my cheeks (which has improved greatly with better skin care). While that sets for a minute I take a bit of bronzer and darken the hollows below my cheek bone, and sometimes I used a bit on my nose to contour, and then under my jaw line.


Next I use my fabulous favorite tool: my buki brush! This is perfect for blending. I love this brush so much and could not live without anymore! This is more densely packed than an all out full size kabuki brush. Mine is a Bare Escentuals (Minerals) you can check out here for 20 bucks. Or for a cheaper version I would recommend the Coastal Scents brand here for 4.95. I use circular motions to blend in my concealer/bronzer. Depending on how my skin is doing, sometimes I use a stippling motion to blend the concealer out just where the edges are. This brush also works great with Bare Minerals loose foundation to give a heavier/thicker application. After blending I lightly sweep bronzer with in an E motion from around my forehead, hollows of my cheeks, under my jaw. I'm currently using a pixi bronzer I am sampling from Ipsy. 


Step 4: Blush. Nothin' fancy. I have a bare minerals blush brush that I use and apply from the apples of my cheeks (I usually smile a big cheesy smile and hit em right on) then I go outward along my cheekbone toward my ear. When I am feeling a bit fancy I will use a luminizer/brightener I got from Bare Minerals just on the top of my cheekbones near the outer corner of my eyes. 


Perhaps a bit better blending on my bronzer on the left but you get the idea. Before when I used to just use bronzer on my cheekbones followed by blush on my cheekbones it gave me quite the baked potato face. You can also see how the bit of bronzer around my hairline and under my jaw gives my face better dimension. Not just flat face. 

Step 5: Brows. I'll do a full brow tutorial at a later date with better pics. In the meantime here is a tutorial I like here. I use a blonde eyebrow pencil from Avon (I purchased for 1.99 on sale!) and make an outline. I draw the top and the bottom of my eyebrows. I left my natural brow shape be my guide. Next I use a blonde eyebrow powder from Nyx to fill in between my lines using the provided brush. (5.99 at Target) Then I take my lovely buki brush and brush it over the top just to soften the edges. My Nyx kit comes with a spoolie if you prefer to soften the look by brushing the powder with it instead. Then I use the wax to set them in place. I would say pencils tend to look harsh, so if you aren't using an eyebrow powder, consider it. 


Step 6: Eyeshadow and mascara. I have found that using an eyeshadow primer really helps me. I use a Nyx pearl (shimmery) base, but they also have plain white, nude, and beige and its relatively cheap at 6.99.  You can pick it up at Target or Ulta.


I won't due a full tutorial on my eyeshadow today, but I've learned a few things.

First thing: Brushes, brushes, brushes. It will make a difference. I have tons of different brands of brushes, but my current favorites are Coastal Scents. Great quality and easy on the wallet. Also, I never use eyeliner under my eye. I use eyeshadow underneath my lower lashes smudged with a dome shadow brush. A small dome shadow brush is your friend. It works great for your crease as well as smudging things out. I started with an Avon one but have upgraded (even though it cost less) to this dome brush from Coastal Scents. You can see the middle of my lid is the palest color darkening at the edges and into my crease. I always use a light (but not silver) color for my brown bone. Shoot for pale skin color. My liner is not a huge thick line, just a nice tight line along the lashes (I used a Sephora liquid liner in brown today). Next so there aren't any dramatic lines I use a blender to blend the color. Again, mine is Coastal Scents. Previously I used a fluffy old school kaboodles brush. The blender works better. Haha. Seriously, tools make a difference so go buy some nice eyeshadow brushes!

Also do not be afraid of color. I used lots of purples and pinks here and it provides just as much of a smokey look as what I used to think black did. Black and silver are harsh. I'm not sure I will ever buy more of them. I've learned that liner doesn't need to be black to be dramatic either. This dark brown works great with the burgundies of my shadow.


This Chella highlighter does wonders on the brow bone just underneath the brows, sometimes I use a bit on the bridge of my nose. I highlight under my brows after I finish my eyeshadow and that just pat with my finger to blend.


Crimping my eyelashes with the curler at this angle rather than straight up and down gives a much better effect. I learned this little trick from pinterest and it actually works.
Have I mentioned that tools are important?! The way bristles are packed into the brush changes the amount of makeup they can hold and then put on your face. 

Two of my fave fave fave tools: My buki brush, and my doefoot blender brush. They are my little blending buddies. I can't live without them now. Even when I started using darker colors in my crease I wasn't blending very well. I'm sure I looked like a fool. 


 My beloved dome brushes! As you can see the Avon is a bit tighter and smaller. I like using this to apply eyeshadow below my lower lash line. The Coastal Scents brush is perfect for applying color into the crease of your eye. These have made a huge difference.


My final step is using a full size kabuki and loose powder. 

Saturday, March 1, 2014

Ulta Brand Ulta Haul: The good, the bad, and the ugly

Everything Ulta except brows and foundation
I'll forewarn you. This is a lengthy mostly picture post. Ulta was running a promo that if you bought 19.50 in Ulta brand products you got a 14 piece Ulta brand makeup gift set. I haven't really explored the Ultra brand name so I thought this was a great opportunity at a low price!
Ulta Gift Set
I had no idea where to start with what I wanted to purchase myself. I figure I own way too many lip and eye products even though I felt that is where I should start. 
My purchases:
  • Ulta Pressed Mineral Blush in Tiger Lily
  • Ulta Extreme Wear Mousse Blush in Peach Glow
  • Ulta Glitter Eye Top Coat in Glitz Girl
Ulta Pressed Minerals Blush:


 I was not prepared for the tiny blush container. Again, I normally buy BareMinerals so this little blush container caught me off guard. I love the color, and the pigmentation. Its very satiny and smooth. It has a sheen but is not glittery. I was surprised by the fallout but it is a mineral blush. It was $12 but I used a 20% off coupon on it. I am in love with the peachy bronzey Tiger Lily color! Not my normal pink and I love it. I would buy this again!

Ulta Extreme Wear Mousse Blush:


Another win! This blush is only 8 bucks and is a creamy dream. I tried to swatch it but it is just blends so well into my skin I couldn't get a good picture. This peach color works great for my fair skin. It gives me a light glow and is such a natural looking blush. This would be great for a BB cream and mascara kind of day. Highly recommend!


Ulta Glitter Eye Top Coat:


Ulta Glitter Top Coat over Classic Eyeshadow Quad
Ulta Mascara


Hello gorgeous! Look at that glittery goodness! As you can see it is glitter without being a chunky ugly glitter. Sophisticated glitter? Is there such a thing? Who cares. Admit you love glitter, and go buy this. 8 bucks. I perhaps played it a bit safe with this color, but I think this color will be versatile for me.

Now onto the reason I ended up ordering in the first place!

Ulta 14 piece gift set


  • Ulta Blush in Sweet Cheeks
  • Ulta Nail Polish Mini in Fuschia Mania
  • Ulta full size Lip Butter in Vienna
  • 3 Ulta mini eyeshadow quads in Classic, Dramatic, and Chic
  • 3 Ulta brushes: contour, eyeshadow, and sponge tip
  • Ulta full size Voluptous Volume Mascara
  • Ulta sample size Matte Prime
  • Ulta mini Lip Gloss in Illusion
  • Ulta dual ended liner in deep brown and black

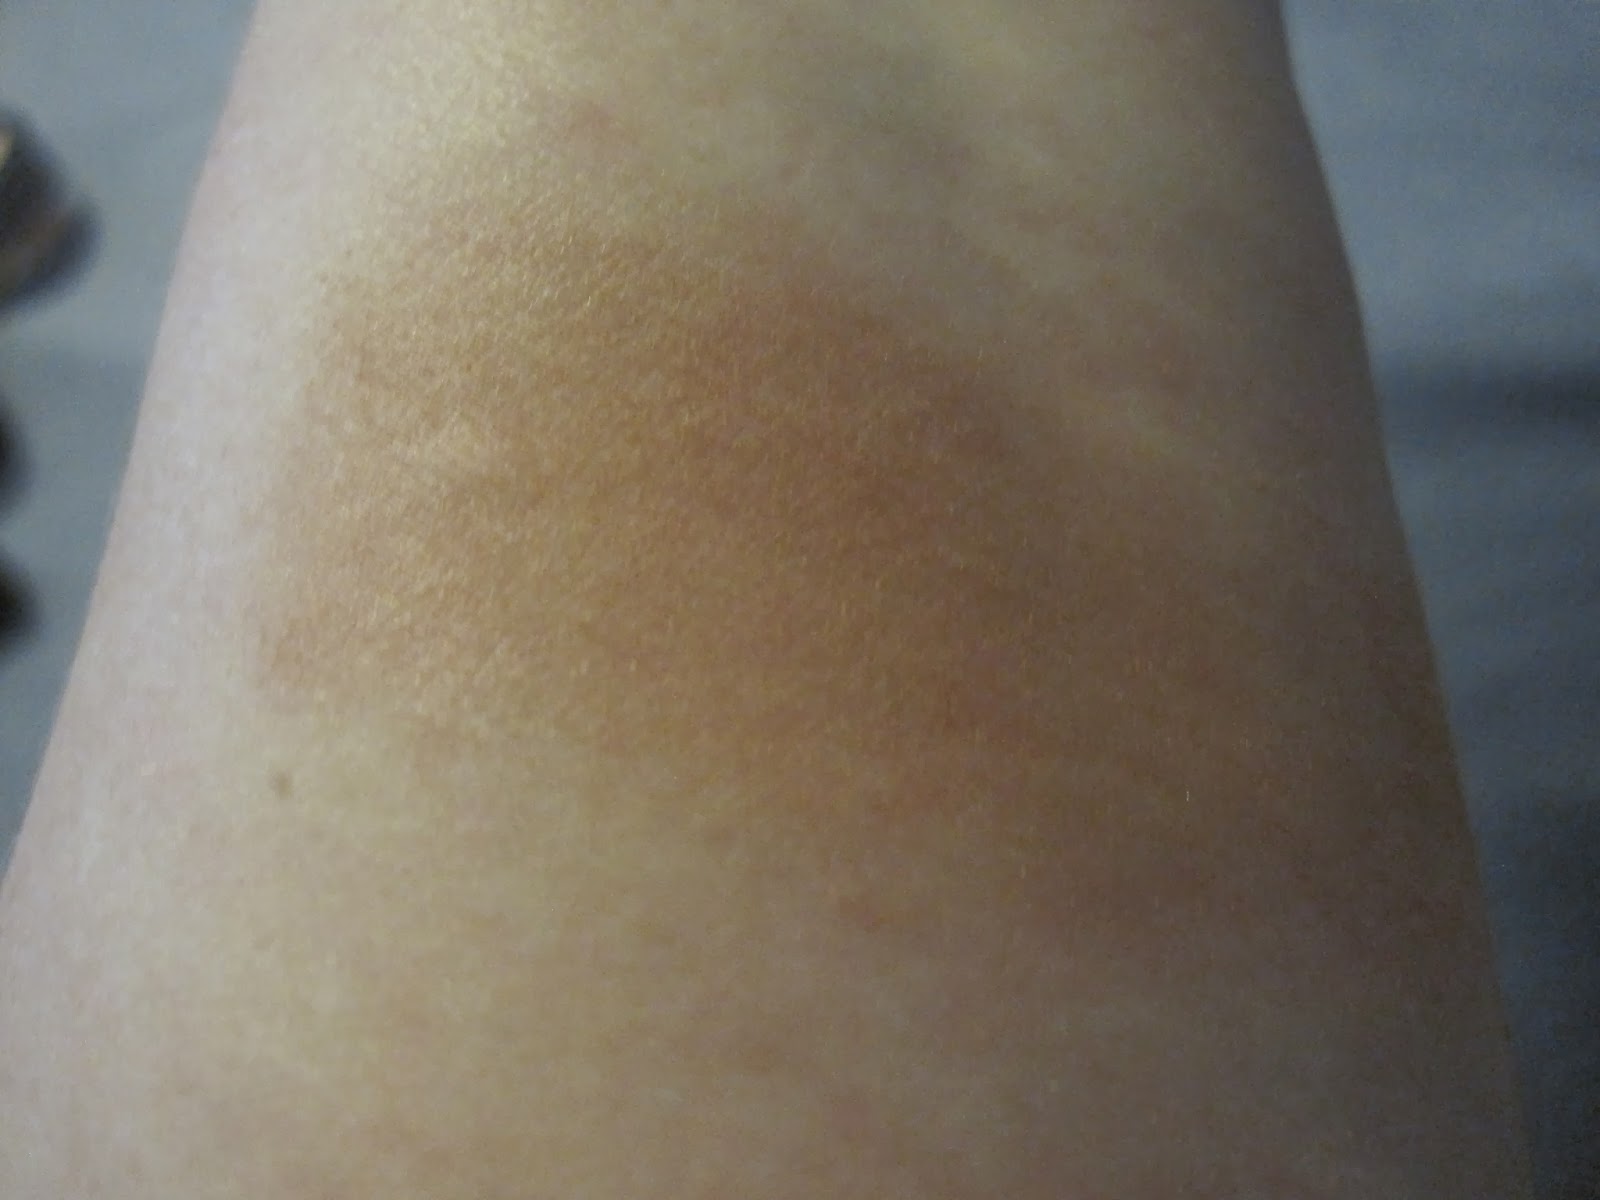
Ulta Cheek Color:


This blush has a glitter to it. Meh. I don't really want glittery cheeks. Possibly shimmery but this is pretty chunky glitter for blush. On my swatch you can see its not terrible on, but in the top left you can see it catches the light. It would be better without glitter. I know just a few minutes ago I said I love glitter, but not from head to toe. I'm not a disco ball.

Ulta Nail Polish: 

 Average nail polish. Pretty pink color.

Ulta Lip Butter:


A peachy color. This is a peachy post! I like this lip butter. It will cost 8 bucks so around the same as the Revlon lip butters. These might even be just a tad more pigmented. This is definitely a hit with me and I look forward to trying other colors. This seemed like it might to be orangey brown but I was VERY pleasantly surprised with it on. It actually a great nude shade on my lips without washing me out.

Ulta Mini Eyeshadow Quads:


When I swatched these out on my arms I immediately hated them. However, I used a bit of Nyx eyeshadow primer before I applied to my lids and that seemed to help me get more bang for my buck with these less-pigmented shadows.

Dramatic Eyeshadow Quad:


As you can see they are shimmery in nature except for Lock & Key being a matte color. After Hours looks so gorgeous in the quad, but on my skin it was washed out and not very pigmented at all. Lots of fall out. Kinda disappointed. The matte color probably had the best consistency. Classic Eyeshadow Quad:


So much for my high hopes for this one. Again, very pretty in the quad, but as you can see, lots of fall out. Not very pigmented at all. You can't even see the first two colors! Not very smooth. Boo. 

Chic Eyeshadow Quad: 


What is with the horrible ugliness of Glittering Sand? Gross! The blue Mosaic has potential. I am not even sure where to begin. I am hesitant to ever buy any ulta eyeshadow! Granted these quads from what I can tell online are what they always offer in their free gift sets. Is the quality less than their actual eyeshadow they sell? I hope so. But I'm not entirely sure I want to take that risk! Wow. I hate to be so negative but unfortunately from sampling so many products I'm starting to notice things I might have ignored before. However a little eyeshadow primer seems to salvage these from the garbage.

Ulta Brushes:


Arg. Total garbage. A foam tipped brush?! The contour brush is okay. Not great. The only benefit to getting these brushes is that the eyeshadow brush works okay for my glitter top coat so I can dedicate it to that. Again, these were a free gift with purchase, so hoping not the quality of their actual brushes. But I still love my cheapy coastal scents that are crazy quality for the price. 

Ulta Voluptuous Volume Mascara:


This is a legit product of theirs and will cost you 8 dollars. I felt like it gave me good length but not much volume for being a volumizing mascara. It was not clumpy or too wet. I would buy this again. 

Ulta Matte Prime:

Another actual product sample of the Matte Prime. It contains salicylic acid used in many acne treatments so I would be hesitant to use this if you do not have oily skin! A full size will cost 18 dollars. I felt that it really accentuated any dry spots I had. It might be a product for summer heat more than winter dry skin! 


Ulta Super Shiny Lip Gloss: 


Average pigment for a lipgloss. Full size 8 bucks. Nothing bad to say here but nothing to blow me out of the water. 

Ulta Dual Ended Eye Liner:  


I was surprised by this eyeliner. Its not a creamy dreamy smudgey liner, but it is a liner that is going to stay put. I liked the pigment to it. I think the deep brown will come in handy!

To summarize:
The products I was pleased with: Primer, lip butter, mascara, eyeliner
The products that are neither here nor there: Lip gloss, nail polish
The products I was disappointed by: Eyeshadow quads, makeup brushes, blush

Would I get one of their gift sets with purchase again? I wouldn't aim for it but if I needed some Ulta products anyway... I did like the blushes I purchased and the eye glitter I purchased a lot!

Ulta Samples with Purchase
I picked perfume because I already subscribe to Ipsy and Birchbox for makeup samples (although I do get perfume from them too) I just was in a perfume sampling mood. I received
  • Encounter by Calvin Klein 
  • Wonderstruck by Taylor Swift (the sample was a air freshener, how fun!)
  • Couture La La by Juicy